1.通过SSH登录服务器
# ssh root@server_ip您可以使用以下命令检查服务器上是否安装了正确的Ubuntu版本:
# lsb_release -a你应该得到这个输出:
Distributor ID: Ubuntu
Description:    Ubuntu 16.04.1 LTS
Release:        16.04
Codename:       xenial
2.更新系统
使用以下命令确保您的服务器完全是最新的:
# apt-get update && apt-get upgrade3.在UUBNTU 16.04上安装POSTGRESQL和PHPPGADMIN
现在使用以下命令安装PostgreSQL和phpPgAdmin:
# apt-get install postgresql postgresql-contrib phppgadmin此命令将安装PostgreSQL和phpPgAdmin所需的所有必需软件包,例如Apache,PHP等……所以如果您的服务器上没有安装Apache或PHP,请不要担心。
4.登录POSTGREES系统帐户
安装完成后,登录“ postgres ”系统帐户,以便访问PostgreSQL。类型:
# su - postgres现在您可以使用以下命令访问PostgreSQL:
postgres@vps:~$ psql更改您的’ postgres ‘角色密码以符合您的需求:
postgres=# \password postgres出现提示时输入新密码。退出 psql 命令行:
postgres=# \q退出 postgres 用户:
postgres=# exit5.配置APACHE
为了通过浏览器访问phpPgAdmin,需要配置Apache Web服务器。因此,打开 phppgadmin.conf 文件:
# nano /etc/apache2/conf-available/phppgadmin.conf通过在行前添加“#”来评论“ 需要本地 ”行。然后在该行下添加“ Allow From all ”。保存并关闭文件。编辑后,该部分应如下所示:
# Only allow connections from localhost:
#Require local
Allow From all
现在调整phpPgAdmin的一些设置。打开 config.inc.php 文件:
# nano /etc/phppgadmin/config.inc.php找到’ $ conf [‘extra_login_security’] = true; ‘并将值从true更改 为 false, 以便您可以作为postgres 用户登录phpPgAdmin 。
保存并关闭文件。
6.重新启动POSTGRESQL和APACHE
现在重启PostgreSQL和Apache。然后启用它们以启动时启动。所有这些都可以使用以下4个命令完成:
# systemctl restart postgresql

# systemctl restart apache2

# systemctl enable postgresql

# systemctl enable apache2
7.验证UBUNTU 16.04上的PHPPGADMIN安装
现在打开您喜欢的Web浏览器并通过导航到http:// your_server_IP / phppgadmin /来访问phpPgAdmin。您将受到一个页面的欢迎,如下图所示:
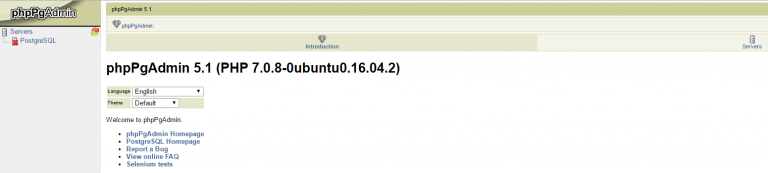
您可以使用 postgres 用户和之前配置的密码登录。现在使用这个伟大的工具在PostgreSQL中创建和管理数据库。